PS/2 Modding, Cleaning and Fixing a Mitsumi KPQ-E99ZC Keyboard
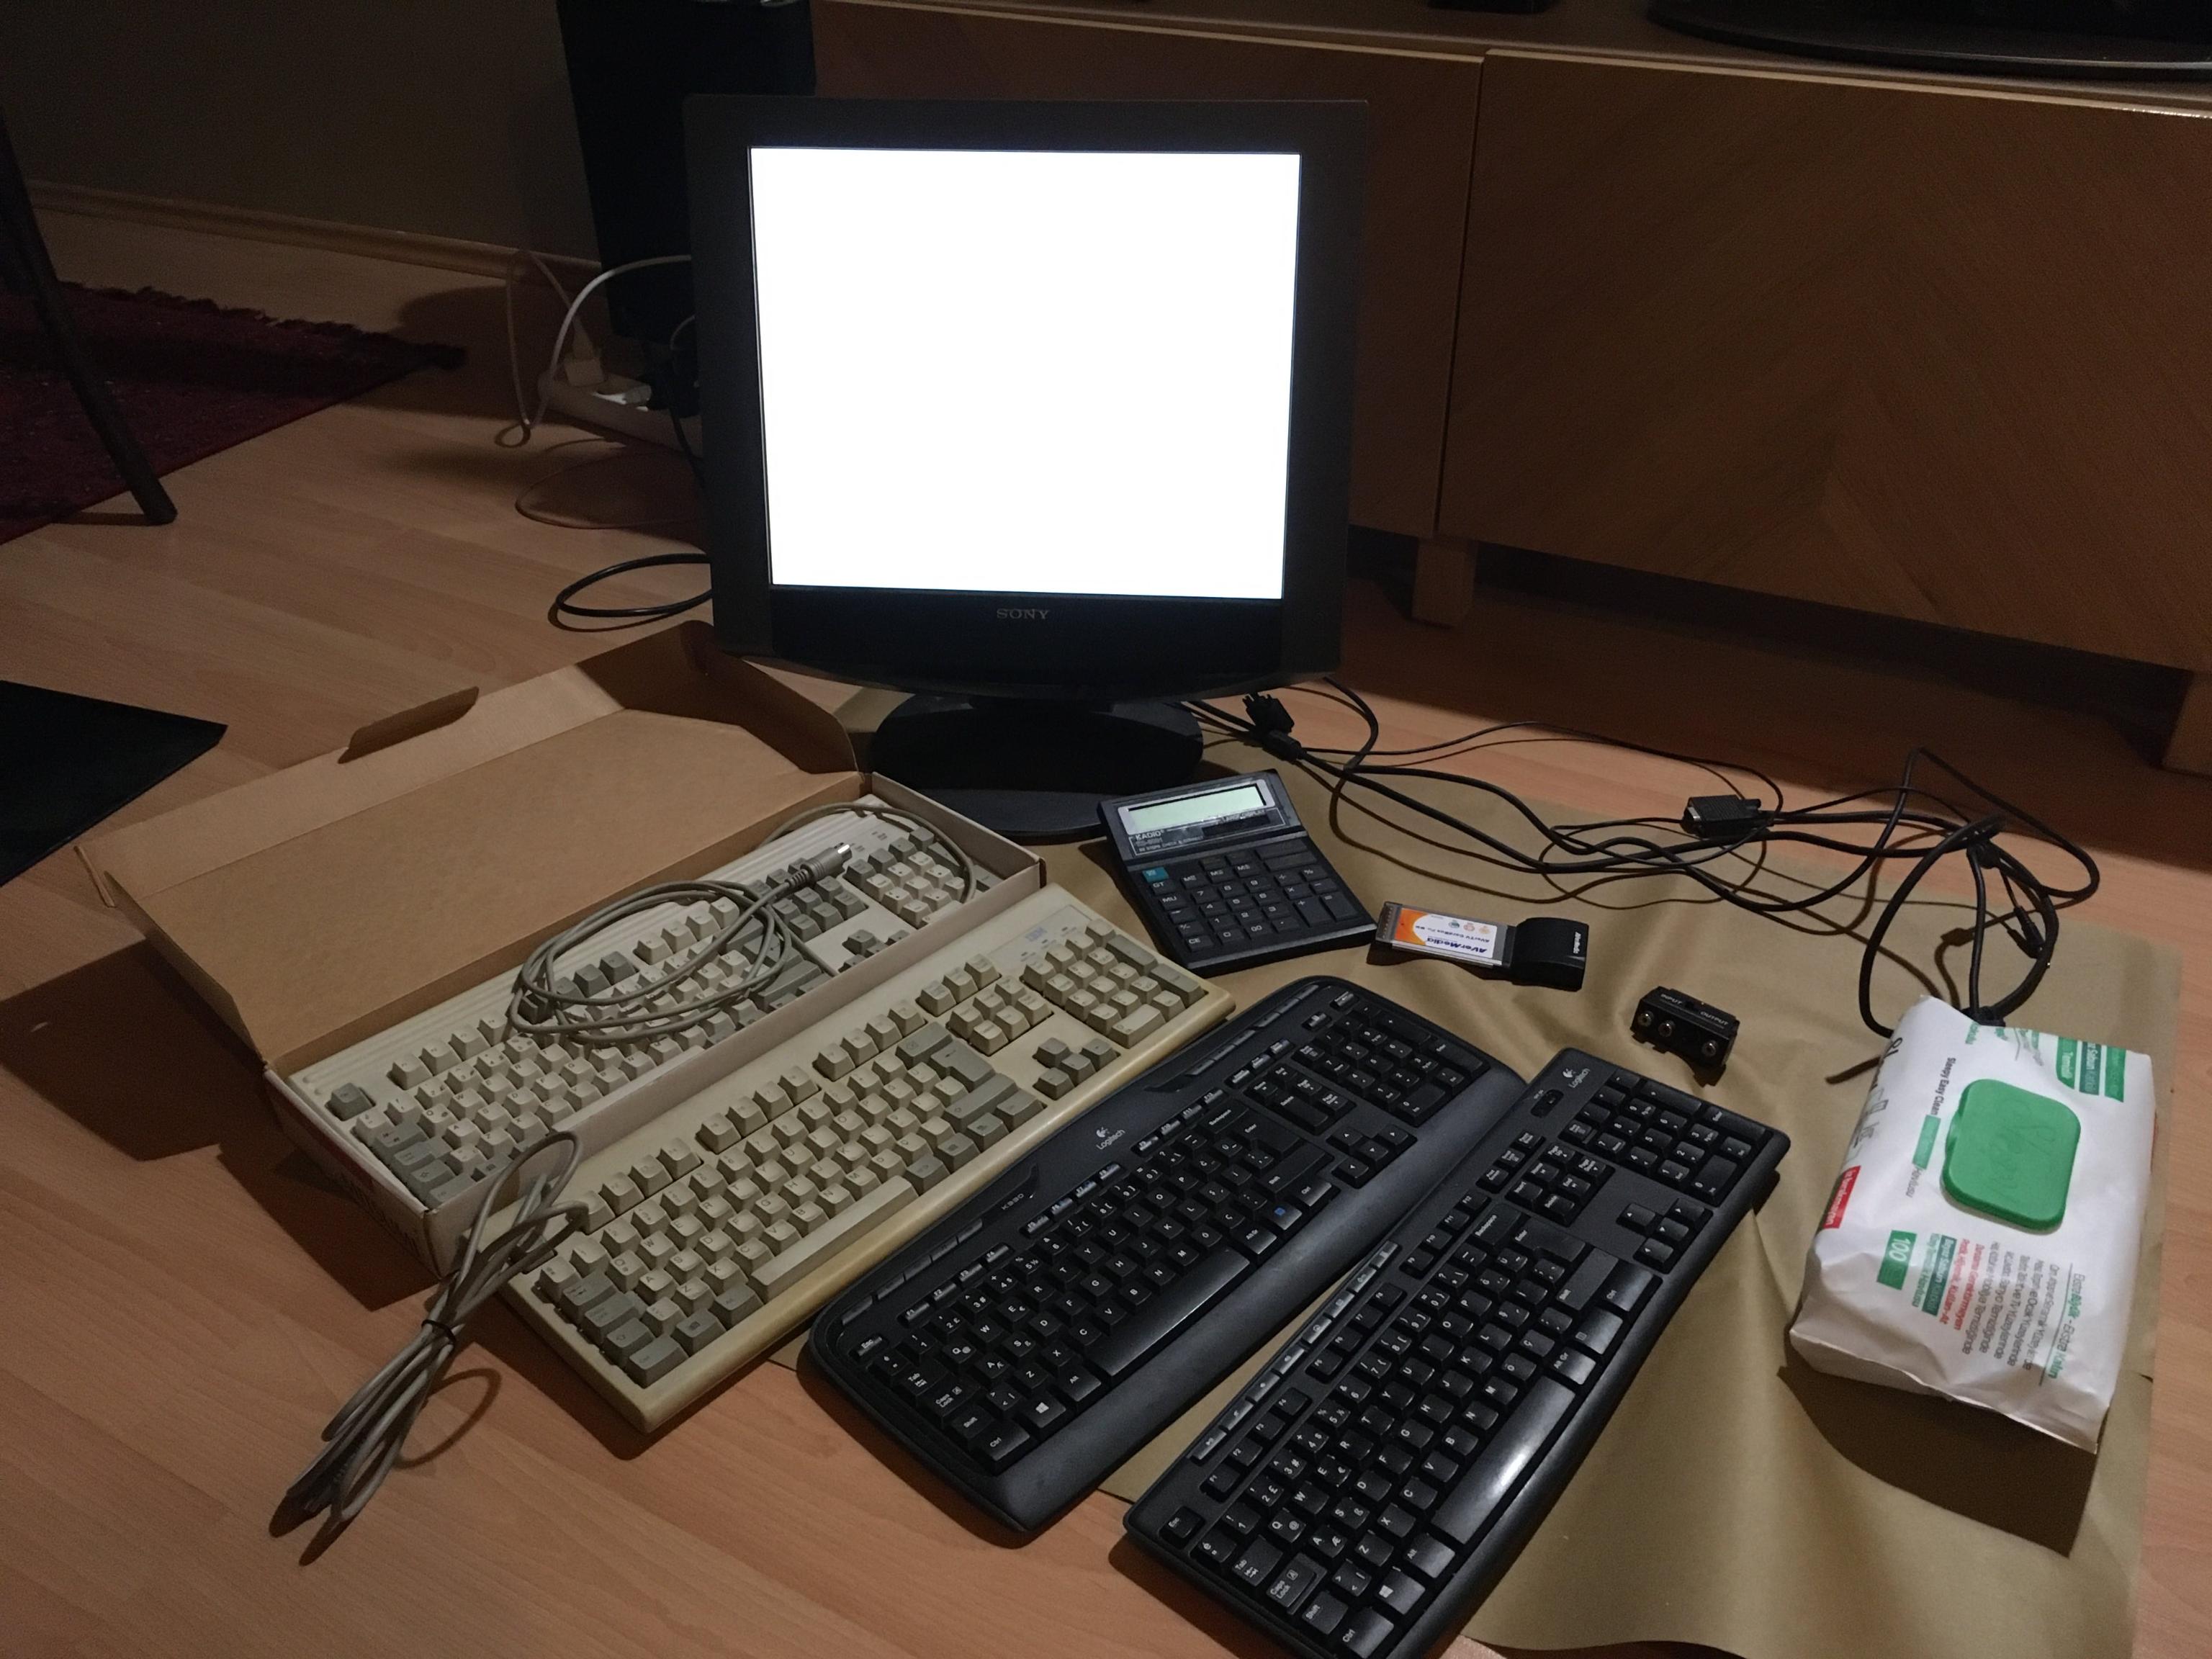
Last month I went to Istanbul and visited Kadikoy Sali Pazari in Friday. I found lots of awesome things for little to no price. I got this Mitsumi KPQ-E99ZC and an IBM KB-8926 for 5 TL each. I also bought a Sony SDM-HX93 monitor with 2 VGA and 1 DVI inputs for 100 TL. I also bought some other various wireless keyboards, some bits and pieces and so on, overall it was a really good haul.
The problem was that the keyboard had an AT connector so I couldn't test it when I got back home. Only today I managed to find a junk keyboard and salvage its PS/2 cable so that I could replace the Mitsumi's cable with this one. AT and PS/2 are pin compatible, its just that only the connectors are different. I took apart the keyboard and deduced the pins using my multimeter.

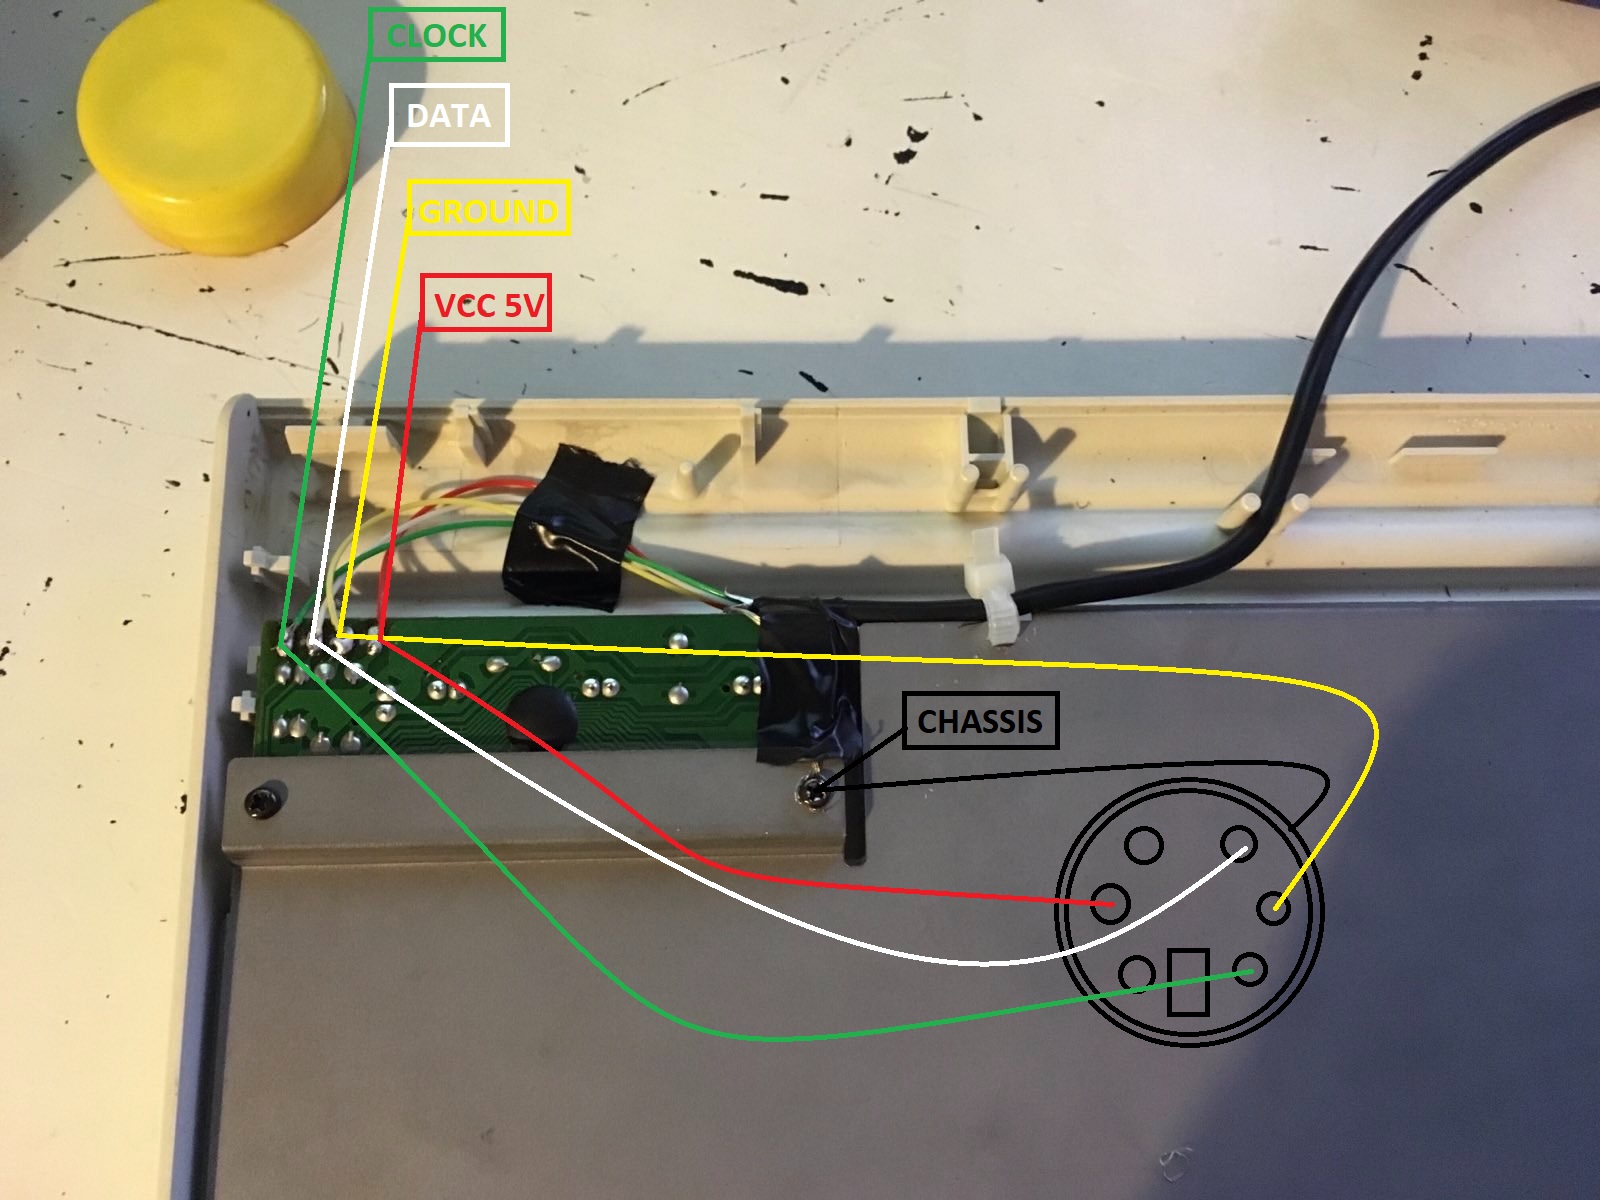
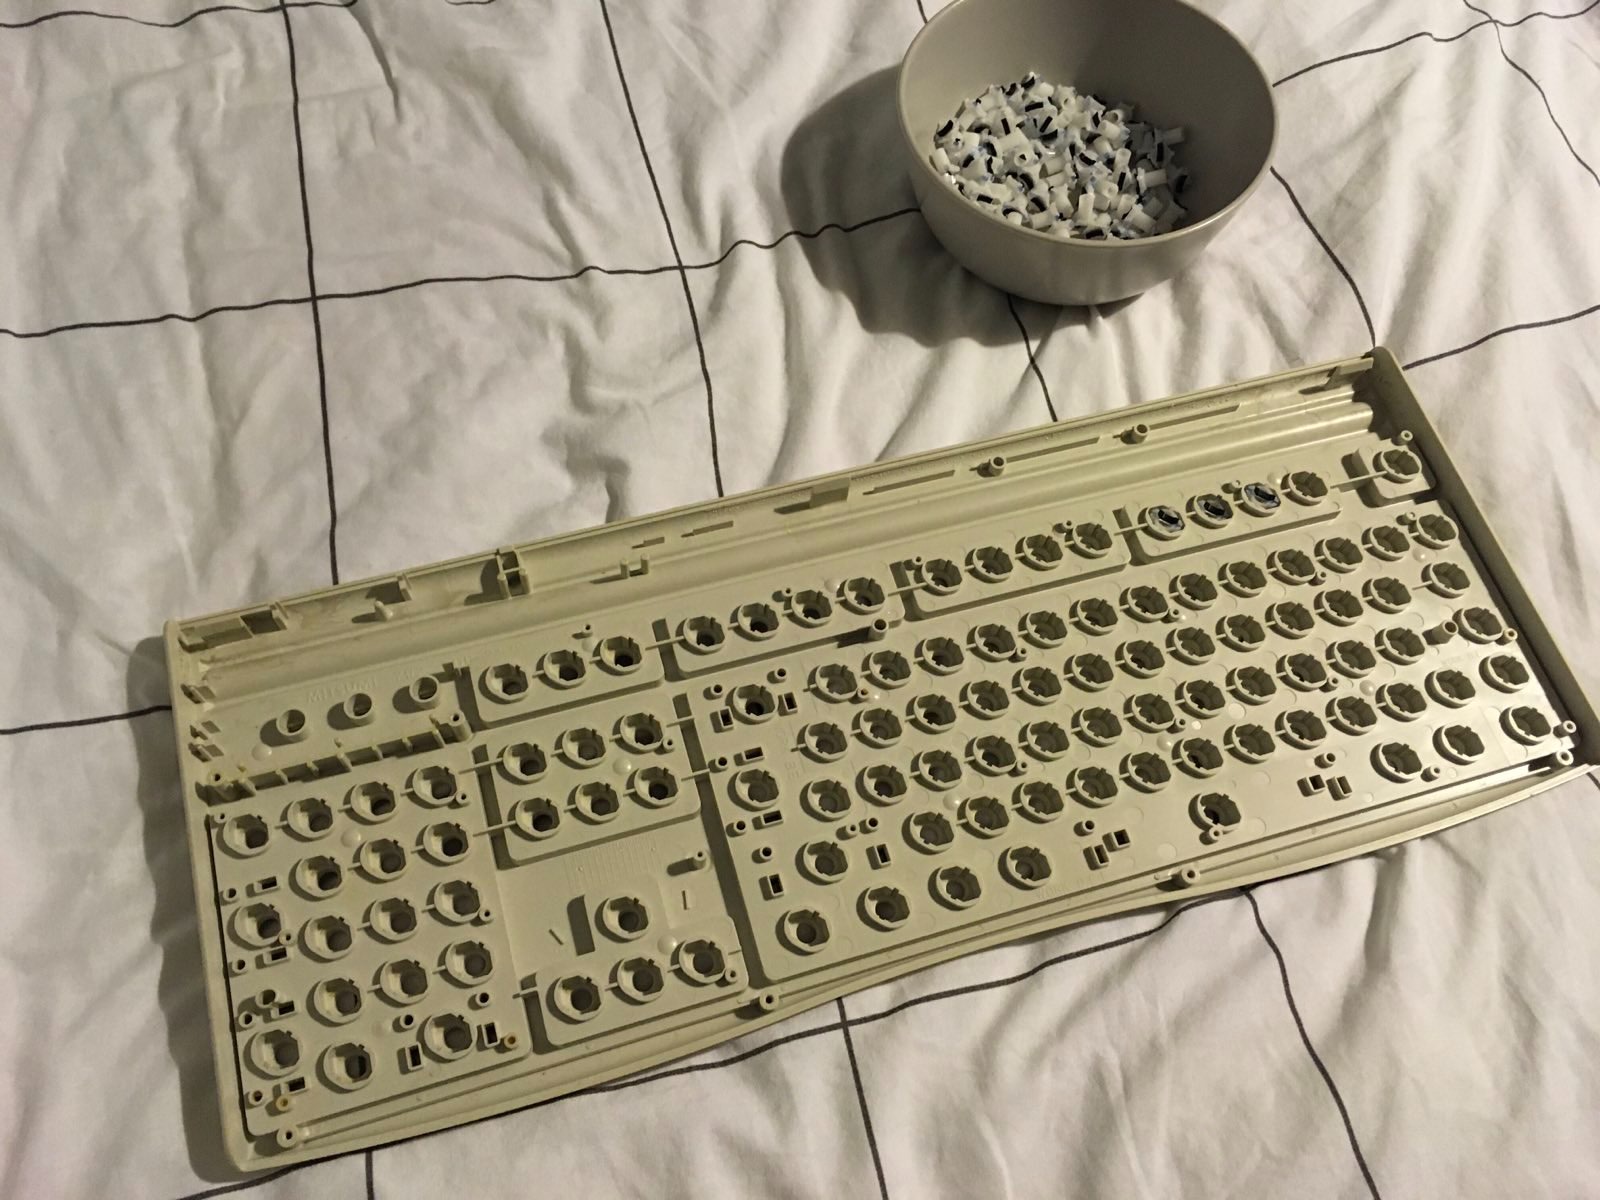
Not my best soldering job since I didn't have any flux but its sturdy. I plugged it in and it worked, I tested it for a bit and noticed some keys weren't registering correctly. I figured with some cleaning I could fix it, so I started taking out the keys.

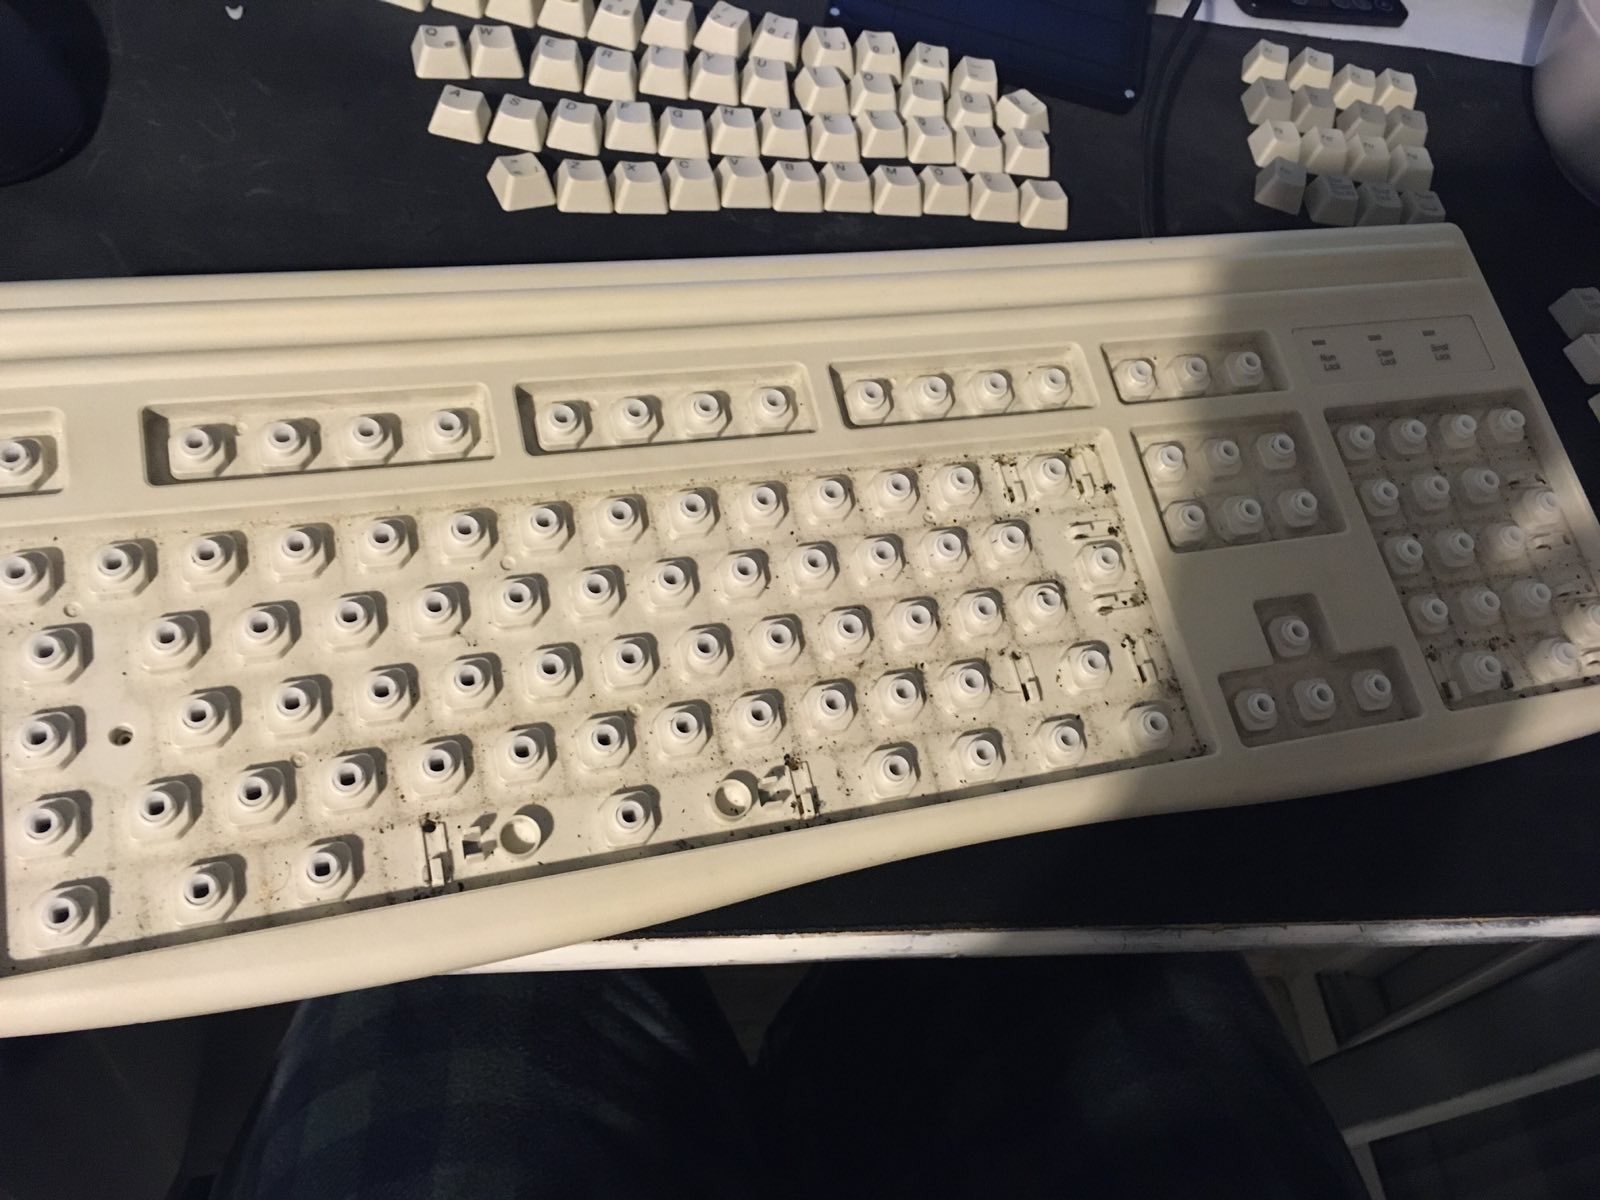
The switches on this keyboard consist of a rubber foot that presses on the membrane and a rubber sleeve to give the key springiness. Only the space key has 2 additional springs. With this design the keys feel soft and tacky, but the downside is its a pain in the bum to put it back after you take it apart. You can learn more about this switch type from here: Deskthority Mitsumi KPQ Type

I painstakingly took out all the keys and admired its filth. Then I took apart the keyboard again to wash its chassis with my trusty toothbrush and some soap. I also had to take out the rubber feet from their holes, so it was lots of fun having to put them back in one by one for all the keys...
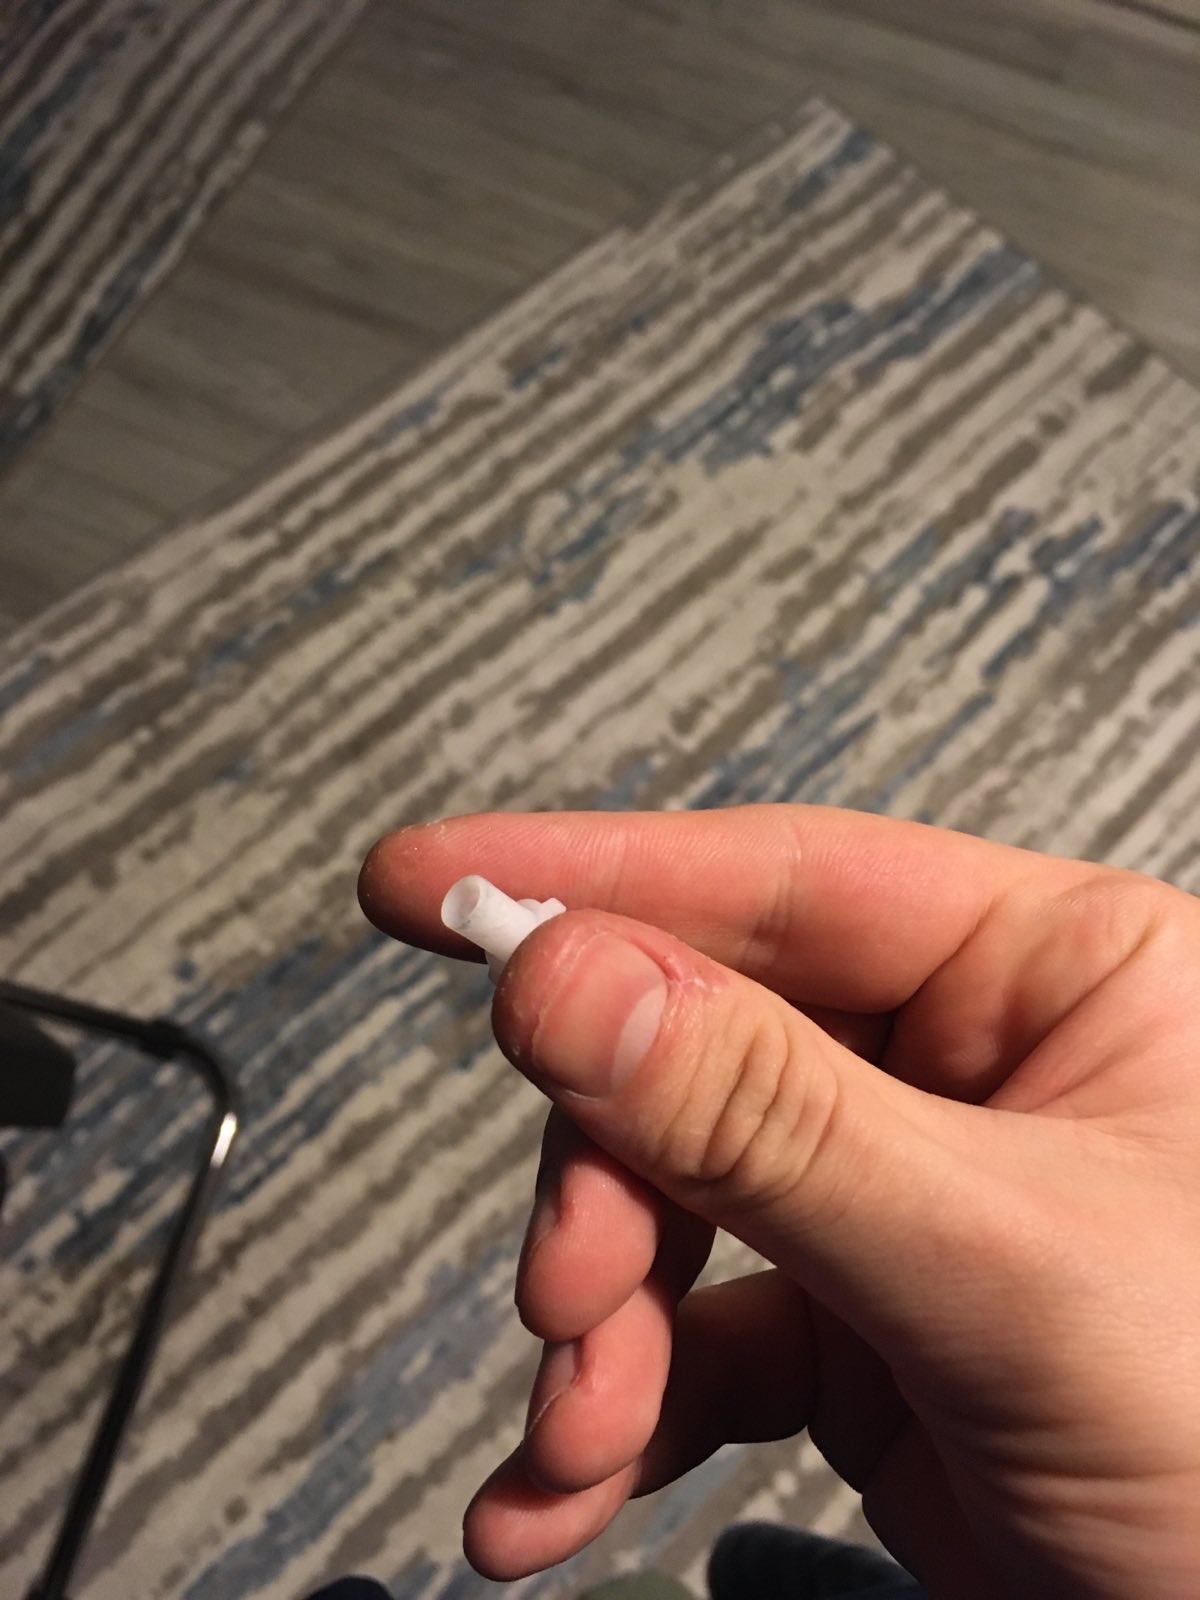
During the process I managed to break one of the feet due to my carelessness. I managed to fix it by applying some superglue and sanding down the dried excess glue. As a result it became like new again and didn't give me any problems thankfully.
After drying everything, I put back everything just enough to test the keys and some keys were still having a hard time pressing. I figured it shouldn't be the membrane sheet but rather the conductiveness of the rubber feet, because I cleaned and inspected the sheet and seen no problems with it. So I thought about a wild idea. I grinded some pencil lead and mixed it together with cheap glue, then I smeared it onto the faulty feet. Surprisingly this actually worked somewhat but I had to repeat the process around 3 times to get them all working properly again, because the glue wouldn't stick and would peel off easily, it was hard to get it right. I wish I had some sort of conductive paint or something similar as that would have saved me hours.

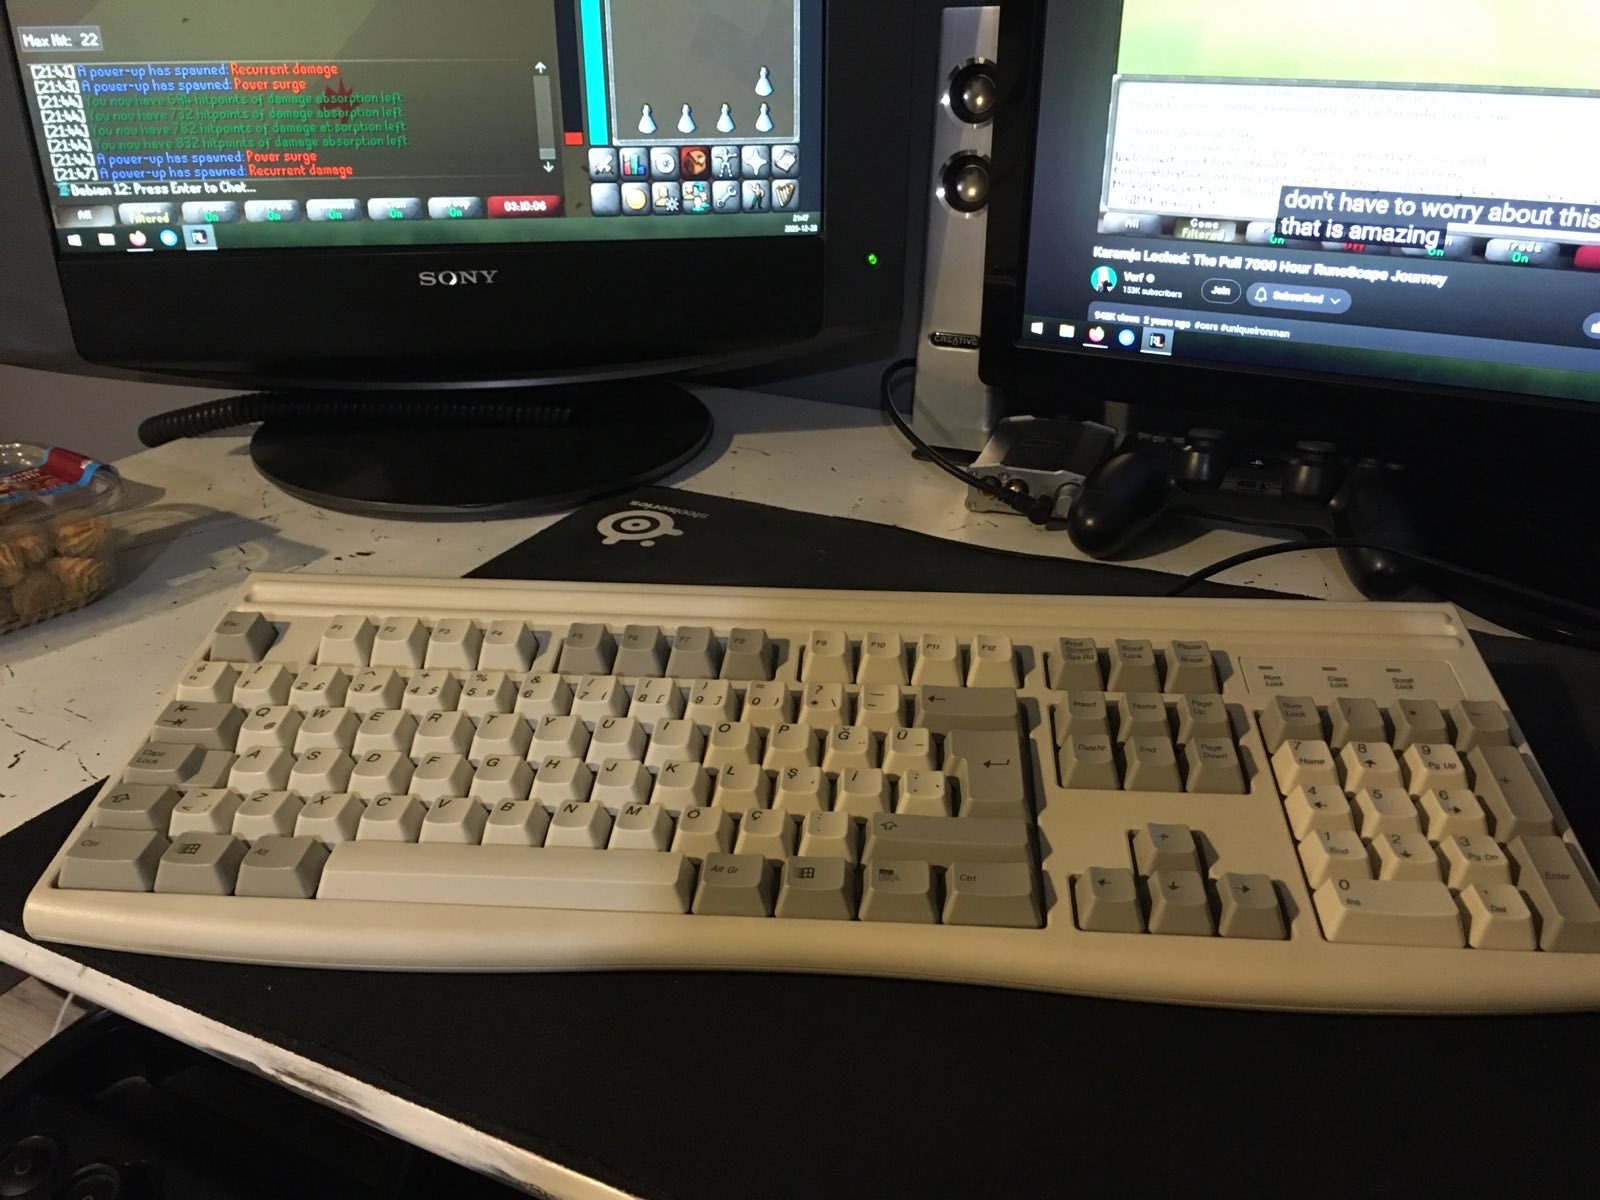
Overall this entire cleaning ordeal took me hours thanks to faulty rubber feet and I managed to get from 72 to 74 attack on my OSRS Ironman account in the meanwhile, AFKing at the Nightmare Zone. I actually really like how this keyboard and the IBM I got feels. The IBM leans more on the thocky side. Lately mechanical keyboards started giving me headaches, so I'm really appreciating these rubber dome keyboards. maybe I'm getting old...